Hi-oh, Campers!Â
Welcome to Little Tikes Camp Play@Home! I’m Junior Counselor Jeff (not to be confused with Eco Master Jeff, who’s the only Jeff who likes spiders, yuck!). In addition to being a former camper myself, I’ll be your digital guide for all things Camp Play@Home. That’s right, I’ll have tons of videos, activities, games, and more for you to do. Just please don’t ask me to jump off the high dive. I belly flopped so hard last summer that I’m still burping up lake water.
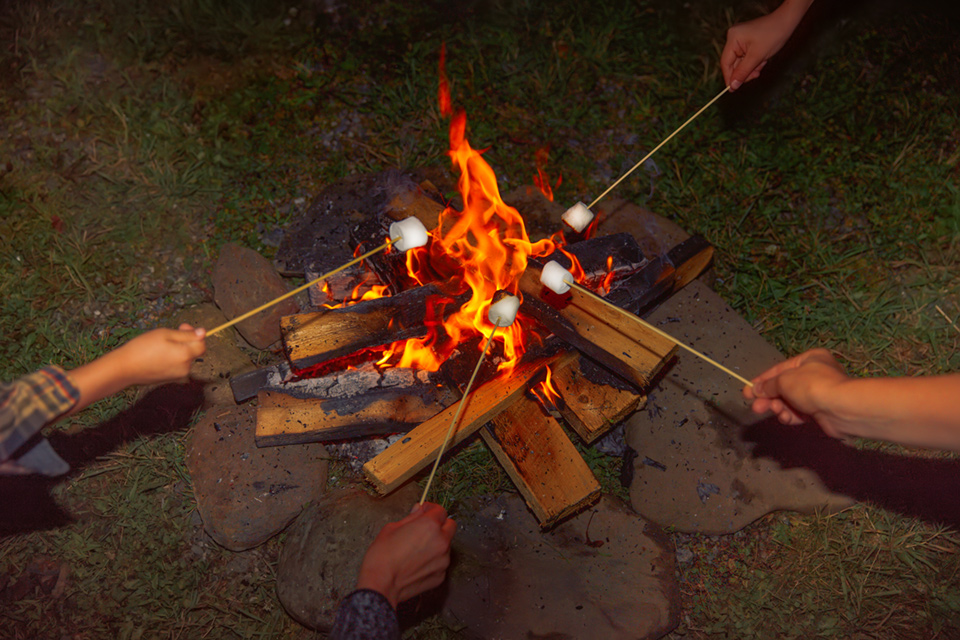
Any who, at Camp Play@Home, we’ll be bringing you tons of fun stuff for the whole family to do (and a few things to save Camper Mom and Camper Dad’s sanity, too). This Friday, our Campout Week activity video goes live, so today we’re going to get things rolling with another fun activity for you and your bunk mates to do together: building a cardboard campfire!
Make Your Own Cardboard Campfire

If you’re looking for a way to take your Camp Play@Home experience to the next level, try bringing the campout experience indoors with a cardboard campfire. For this activity, gather up at least 8 cardboard tubes; red, yellow, and white tissue paper; a plastic tarp or workspace where you can paint; glue; safety scissors; and some brown acrylic paint.


Step 1:
Start by painting the cardboard tubes brown. Let your kids get creative by painting bark and leaves on the tubes, creating different shades of brown paint, or adding other creative touches to the cardboard tube logs. You can also try doing multiple layers of paint to give it a more distinctive look. Pro tip: try having your kids paint the top of each cardboard tube first, letting it dry, and then flipping it over to flip the bottom. That way, you can minimize the mess as your kids paint.

Step 2:
While the painted cardboard logs are drying, take out the tissue paper and have your kids cut 3 squares of each color using your safety scissors. Cut the yellow squares so they’re about 10-inches on a side, the red squares so they’re about 9-inches on a side, and the red squares so they’re about 8-inches on a side. Stack the pieces of colored tissue paper on top of each other from largest to smallest (so yellow, red, then white) in a pile. Your kids should have three piles with one piece each of yellow, red, and white paper when they’re done.

Step 3:
Using your glue (plain white glue or a hot glue gun works best), have your kids arrange the cardboard tube logs into a pile (try to make it look like a real campfire) and glue them in place one at a time. Have them arrange the cardboard tube logs at different angles to give your fire more dimension and a more realistic look. If your pretend campfire looks too small, you can easily create more cardboard tube logs and add them to it. Make sure you give the glue a few minutes to set before moving on.

Step 4:
Once the glue on your logs has set, pick up one pile of colored tissue paper. Put your finger in the center of the smallest square on top and slide your other hand under the tissue paper. Flip the paper upside down so it drapes over your finger and squeeze it with your open hand. Gently remove your finger from inside the tissue paper ‘flame’ and give the paper a bit of a crinkle. Put a drop of clue on the base of the colored tissue paper ‘flame’ and then stuff it inside the opening of one of your cardboard tube logs. Repeat this step with the other two piles of colored tissue paper.

Step 5:
Once your glue has dried, your cardboard campfire is done! Arrange it inside your blanket fort (more on that soon) or anywhere else you want to take your kids’ Camp Play@Home experience to a whole new level. Great job, Campers!
Friday’s Camp Play@Home Ultimate Blanket Tent Building Activity
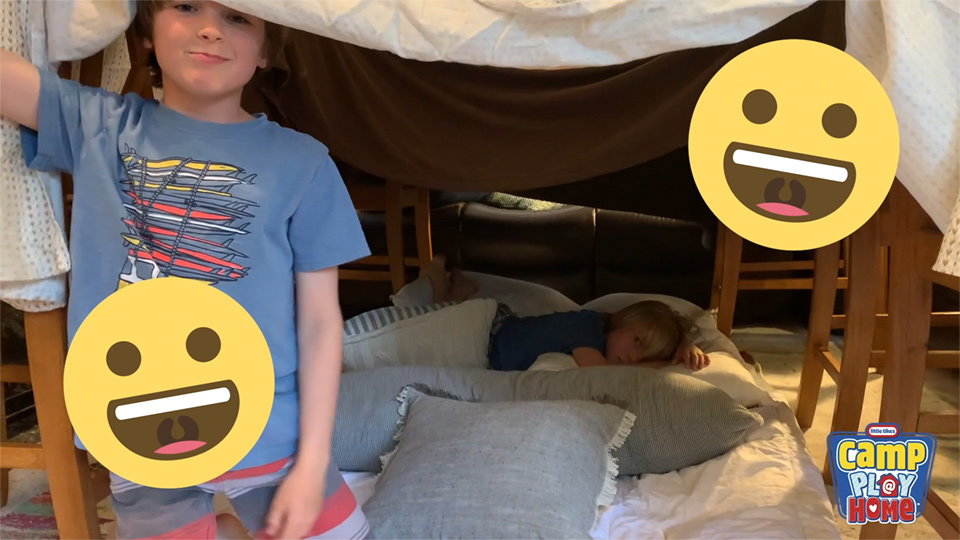
Oh, and before I forget, we’re making the Ultimate Blanket Tent this Friday for our official Camp Play@Home activity! Here’s everything you need for to participate in this Friday’s Ultimate Blanket Tent Building Activity:
Lightweight blankets or sheets
A heavy comforter
20 or so clothes pins
Little Tikes® Big Building Blocks (or heavy books)
Your dining chairs
A large, open space (like your living room)
Anything else you want to enhance your blanket tent
You can download this week’s activity badge, Terrific Tent Builder, here. Make sure you print out your badges every week and have your kids color them in. There will be a new badge released every week of Camp Play@Home.
Hope you enjoyed today’s activity. Make sure to snap pictures as you and your bunk mates make cardboard campfires and blanket tents, and don’t forget to tag us when you post (@OfficialLittleTikes on Instagram, @LittleTikes everywhere else on social media)! Ready for more? Check out the Camp Play@Home website for new videos, activities, games (and some special things especially for you as parents to stay sane) every day!
At Little Tikes, we don’t just make toys, we make play. Looking for more great active play ideas? Check out www.LittleTikes.com for all our latest play tips & tricks!
Bye-oh, Campers!
~ Junior Counselor Jeff


