Hi-oh, Campers!
Welcome to Little Tikes Camp Play@Home! I’m Junior Counselor Jeff (not to be confused with Eco Master Jeff). In addition to being a former camper myself, I’ll be your digital guide for all things Camp Play@Home. That’s right, I’ll have tons of videos, activities, games, and more for you to do. Just please don’t tie all my sneakers to the top of the flagpole again, I’m tired of walking around barefoot all summer long.
Any who, for the next seven weeks we’ll be bringing you tons of fun stuff for the whole family to do (and a few things to save Camper Mom and Camper Dad’s sanity, too). This Friday, our Orientation Week activity video goes live, so today we’re going to get things rolling with another fun activity for you and your bunk mates to do together: friendship bracelets!
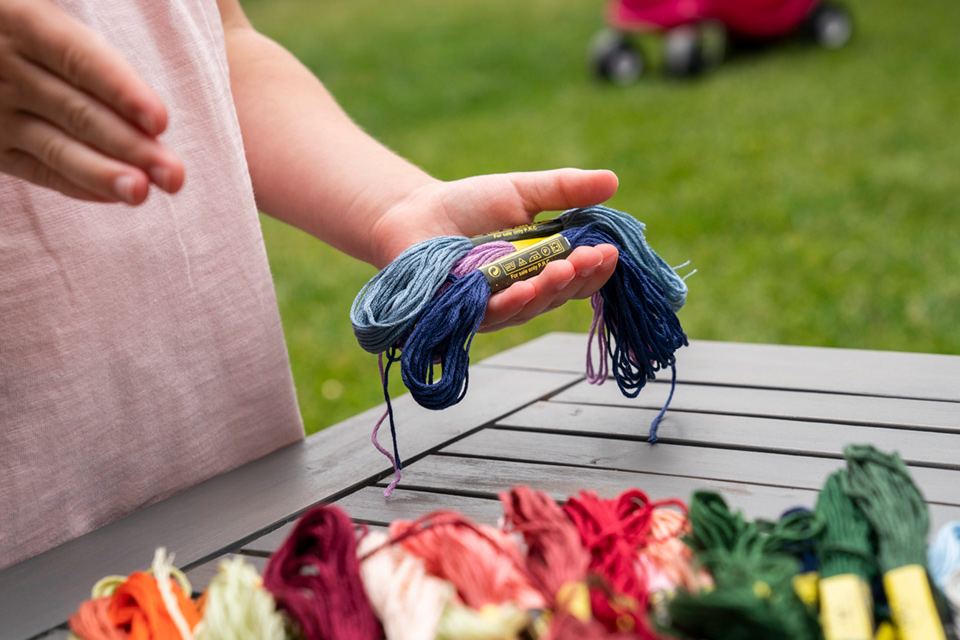
Friendship bracelets are the perfect summer camp activity. They’re easy to put together, you can make them anywhere, and they’re totally customizable. To get started, you just need a pair of scissors, some tape, and however many colors of embroidery floss / thin yarn as you want
Step 1
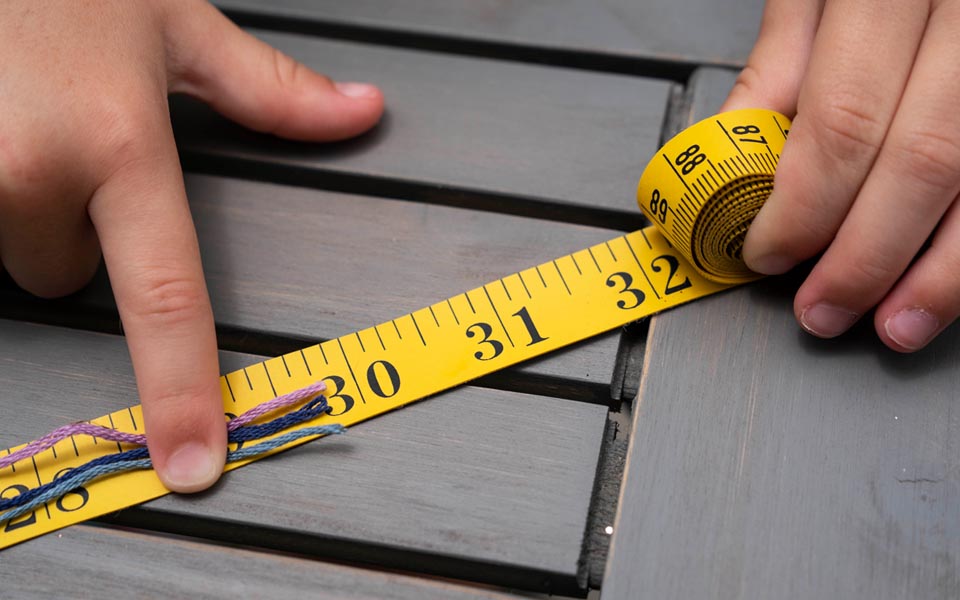
Start by cutting your floss / yarn into strands. A good way to approximate the length you need is to measure the diameter of your wrist and then multiply it by five. So if the diameter of your wrist is six inches, you should cut your floss / yarn into 30 inch lengths. I’d recommend starting with four to six strands. Four is relatively straightforward and easier to do (for campers who get confused easily), while six allows you to add some extra detail to your bracelet. You can use more than six strands, but it’ll require more knots and therefore more floss / yarn per strand.
Step 2
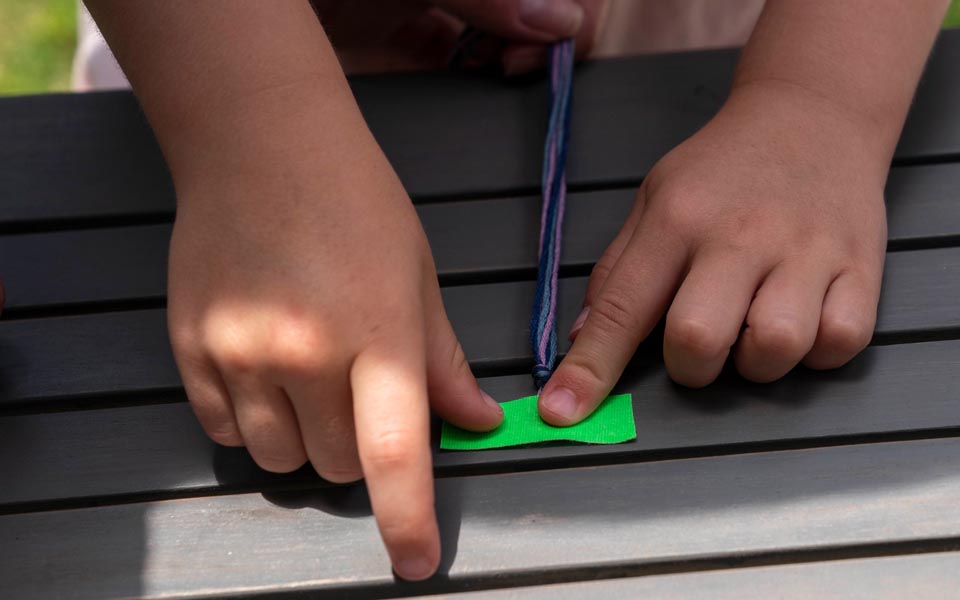
Tie all of your strands of floss / yarn in a knot at one end (leave an inch or so of fabric in a tail at the end), tape the tail to a table, and then braid them together until you have a braid about three inches long. Once you’ve got your three inch braid, tie another not to secure it.
Step 3
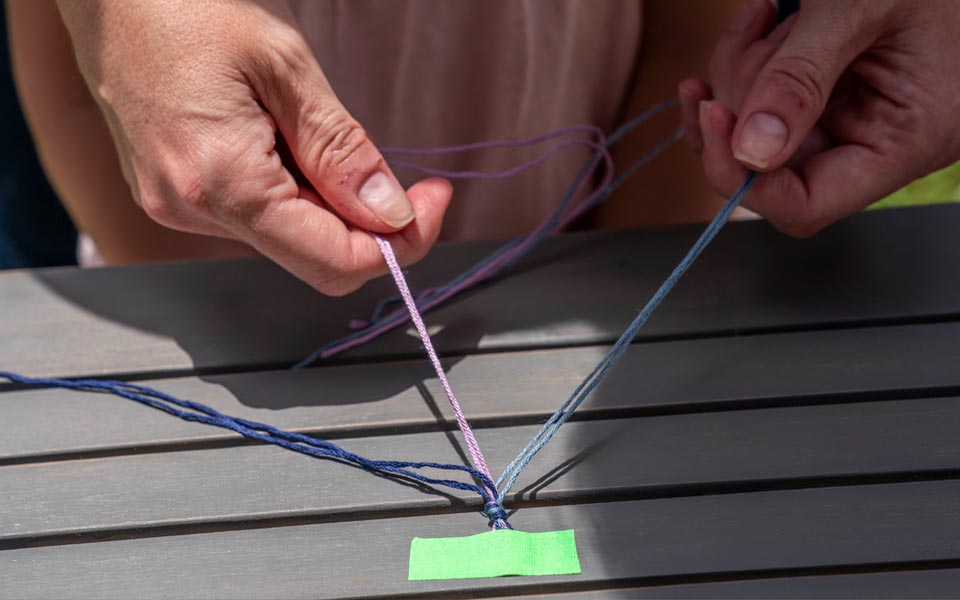
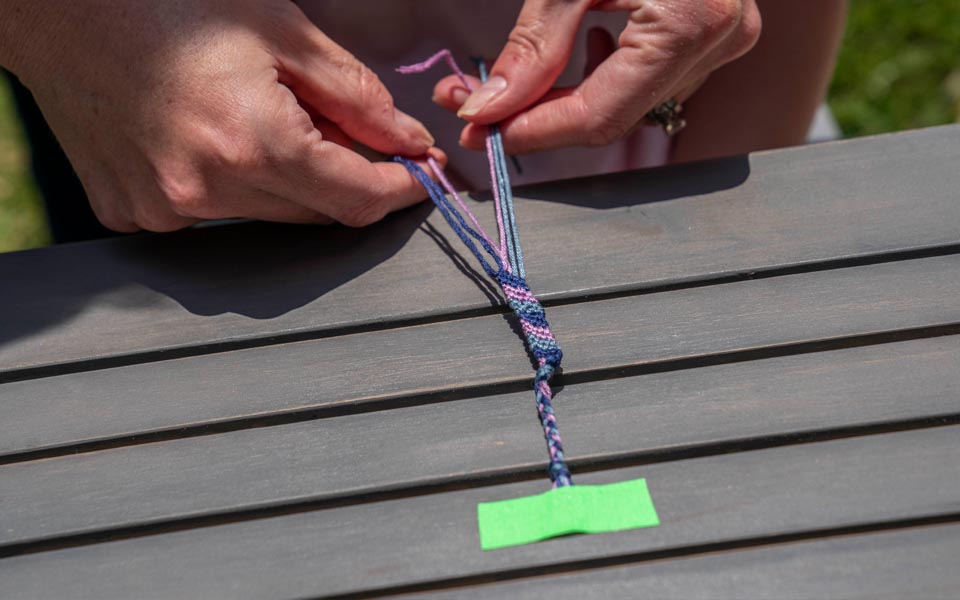
Organize your floss / yarn into whatever pattern you want (alternating colors, rainbow, etcetera) beneath your second knot. Now it’s time to create the cool, knotted pattern of your friendship bracelet.
Once they’re ordered the way you want, grab the left-most strand (this will form your first row) and pass it over the second strand then back under the second strand. Make sure you always pass over the strands first to give your bracelet the right look. Pull the first strand up to form a loose knot around the second strand. Hold the second strand taut and gently pull the first strand up until it meets resistance near your knot at the top (don’t pull too hard!). There’s your first knot! Repeat Step 3 so you have two knots of your first strand around your second strand.
Step 4
Now, your first strand should be to the right of your second strand. Pass it over the third strand, back under to create a knot, and then pull until you meet resistance again. Then repeat again to form a second knot around your third strand. Continue doing this with each strand until your first strand is all the way to the right. Then, you begin again by using your former second strand to create knots around each other strand, forming the second row of color!
Step 5
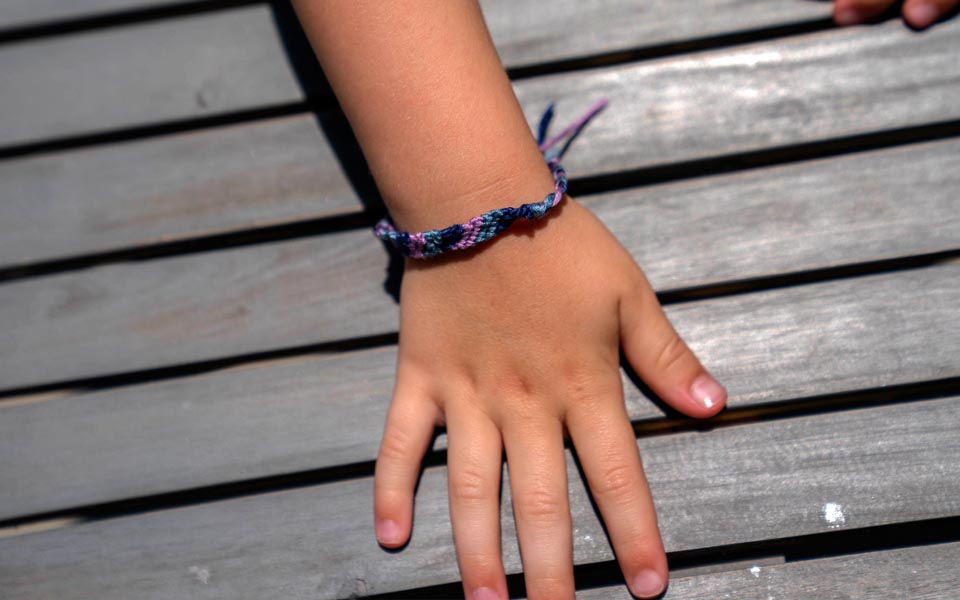
As you weave strands, they’ll slowly move left to right until the pattern repeats all over again. Keep going until you have about 6 inches of floss / yarn left. Then, tie a big knot, weave a 3 inch long braid, and tie another knot to finish things off.
Nice work! Make sure you take it slow, and remember that the more strands you add, the longer your strands need to be and the harder it gets to keep track of.
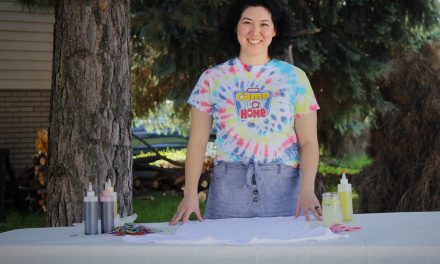
Hope you enjoyed today’s activity. Make sure to snap pictures as you and your bunk mates make friendship bracelets and tie dye t-shirts, and don’t forget to tag us when you post (@OfficialLittleTikes on Instagram, @LittleTikes everywhere else on social media)! Ready for more? Check out the Camp Play@Home website for new videos, activities, games (and some special things especially for you as parents to stay sane) every day!
At Little Tikes, we don’t just make toys, we make play. Looking for more great active play ideas? Check out www.LittleTikes.com for all our latest play tips & tricks!


